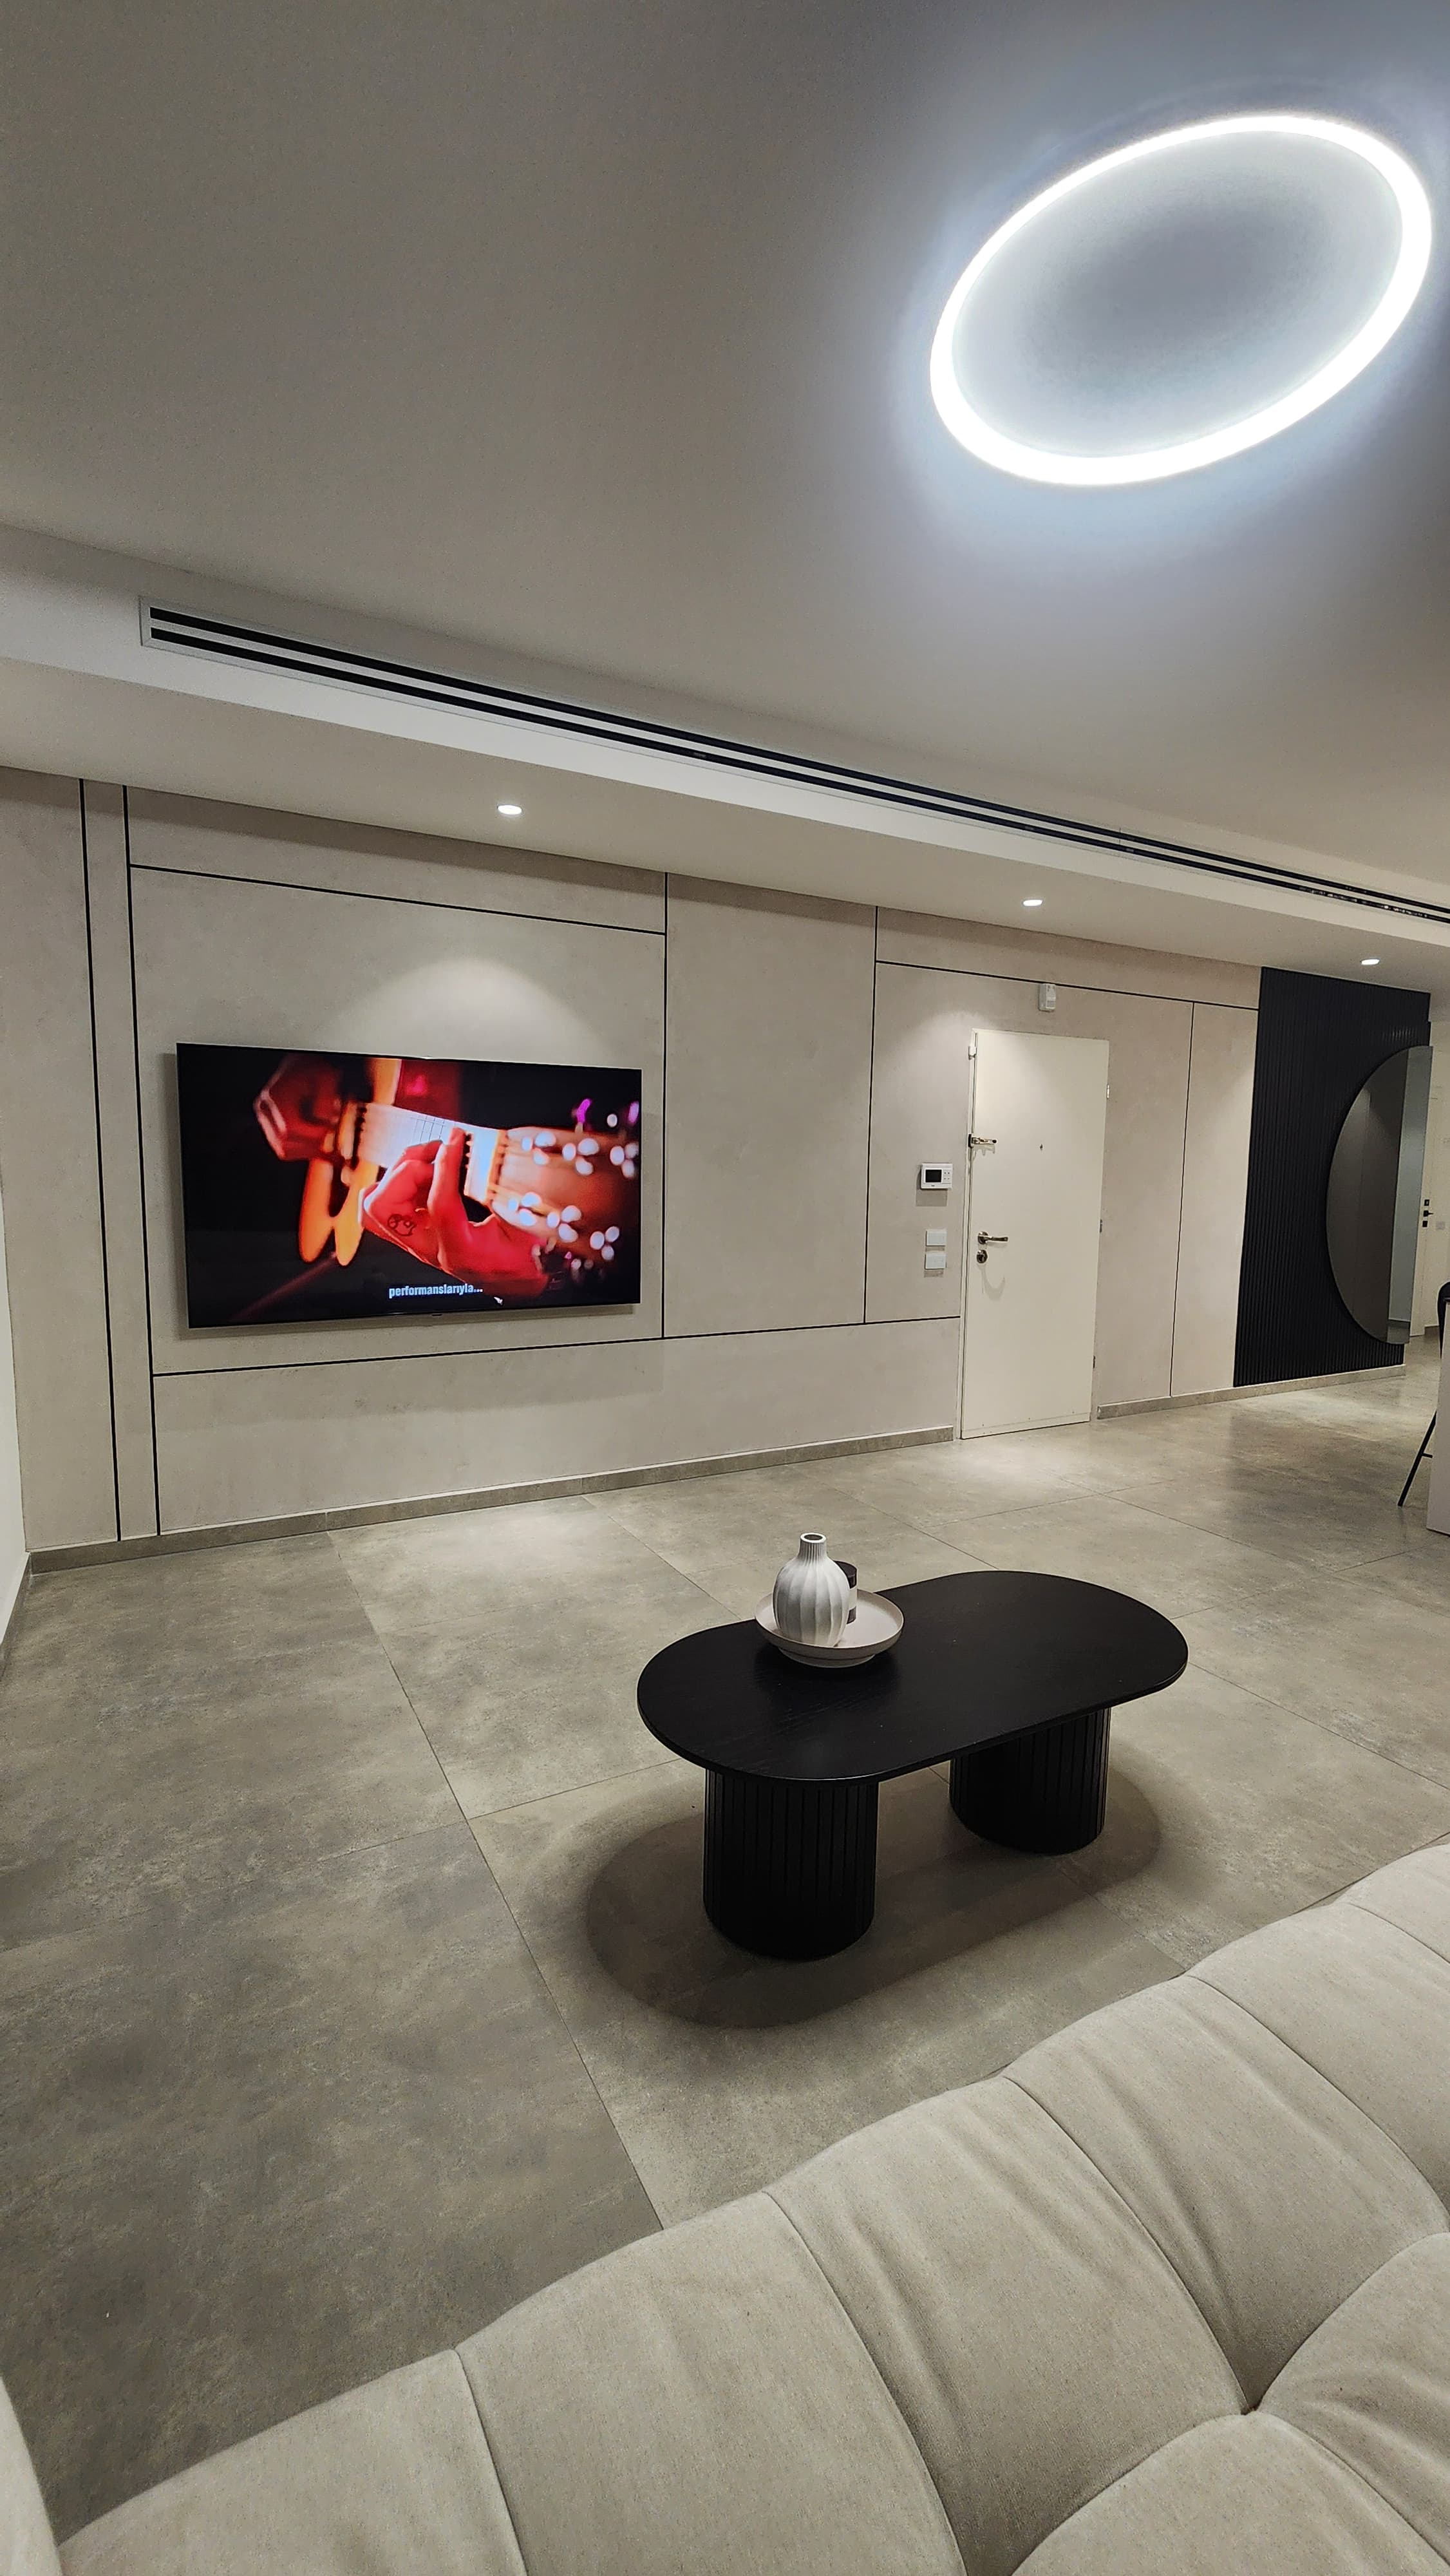
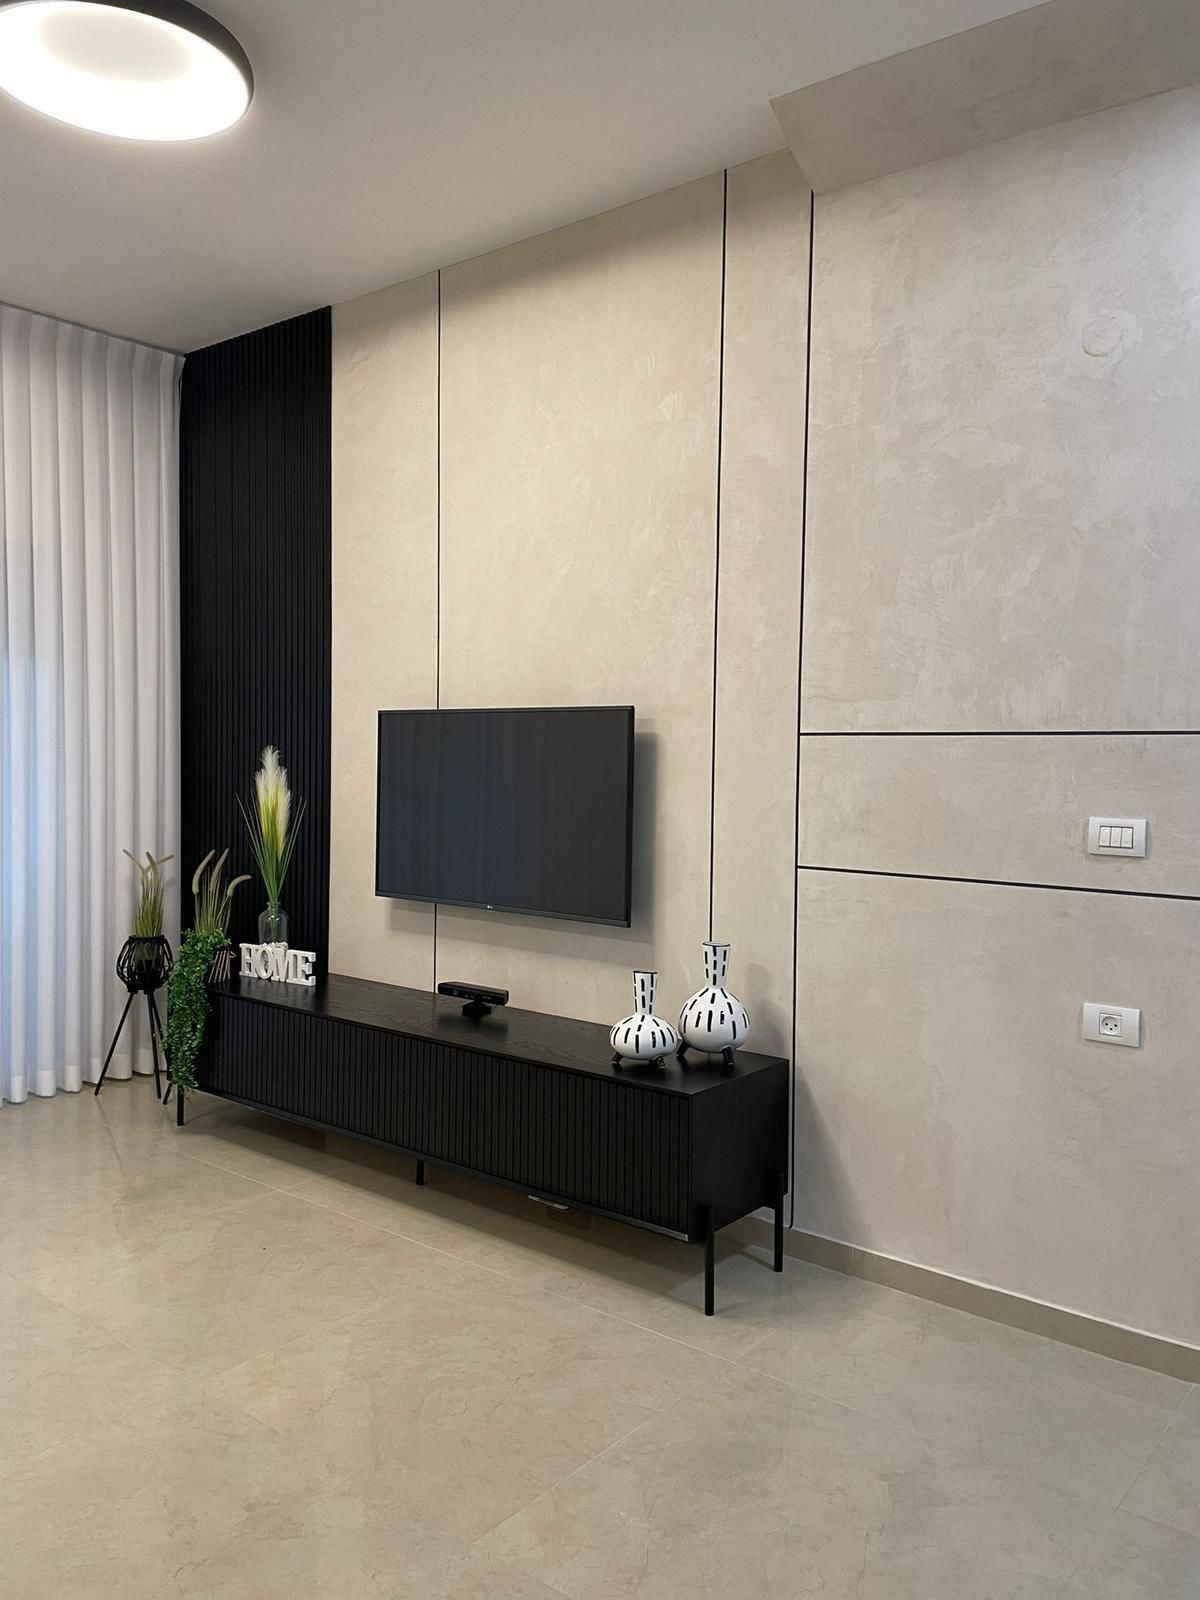
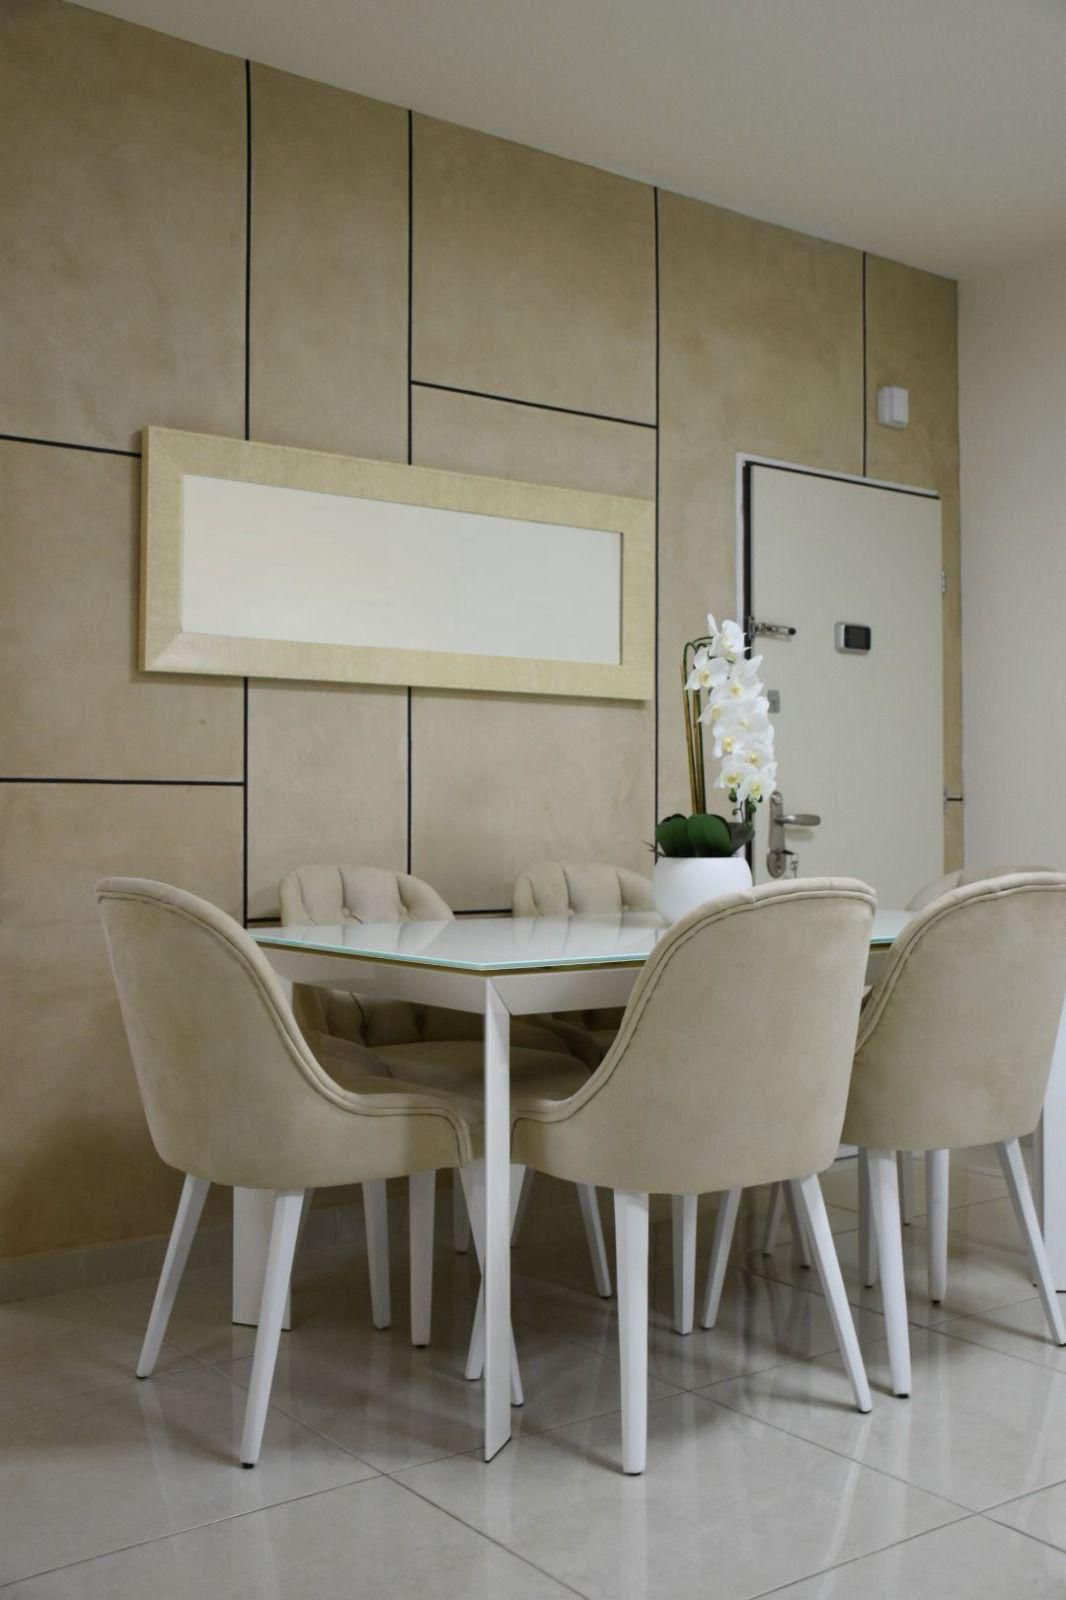
An architect's method for the black-line concrete wall. For your home, or your clients.
Build the concrete wall
everyone stops to touch.
The black-line mineral plaster method, taught by an architect. Whether you are finishing your own home or offering it to clients, you will walk away able to turn a plain wall into a finish that looks like it cost a fortune.
One-time enrollment$99
One-time payment. Secure checkout. Sign in if you already have an account.
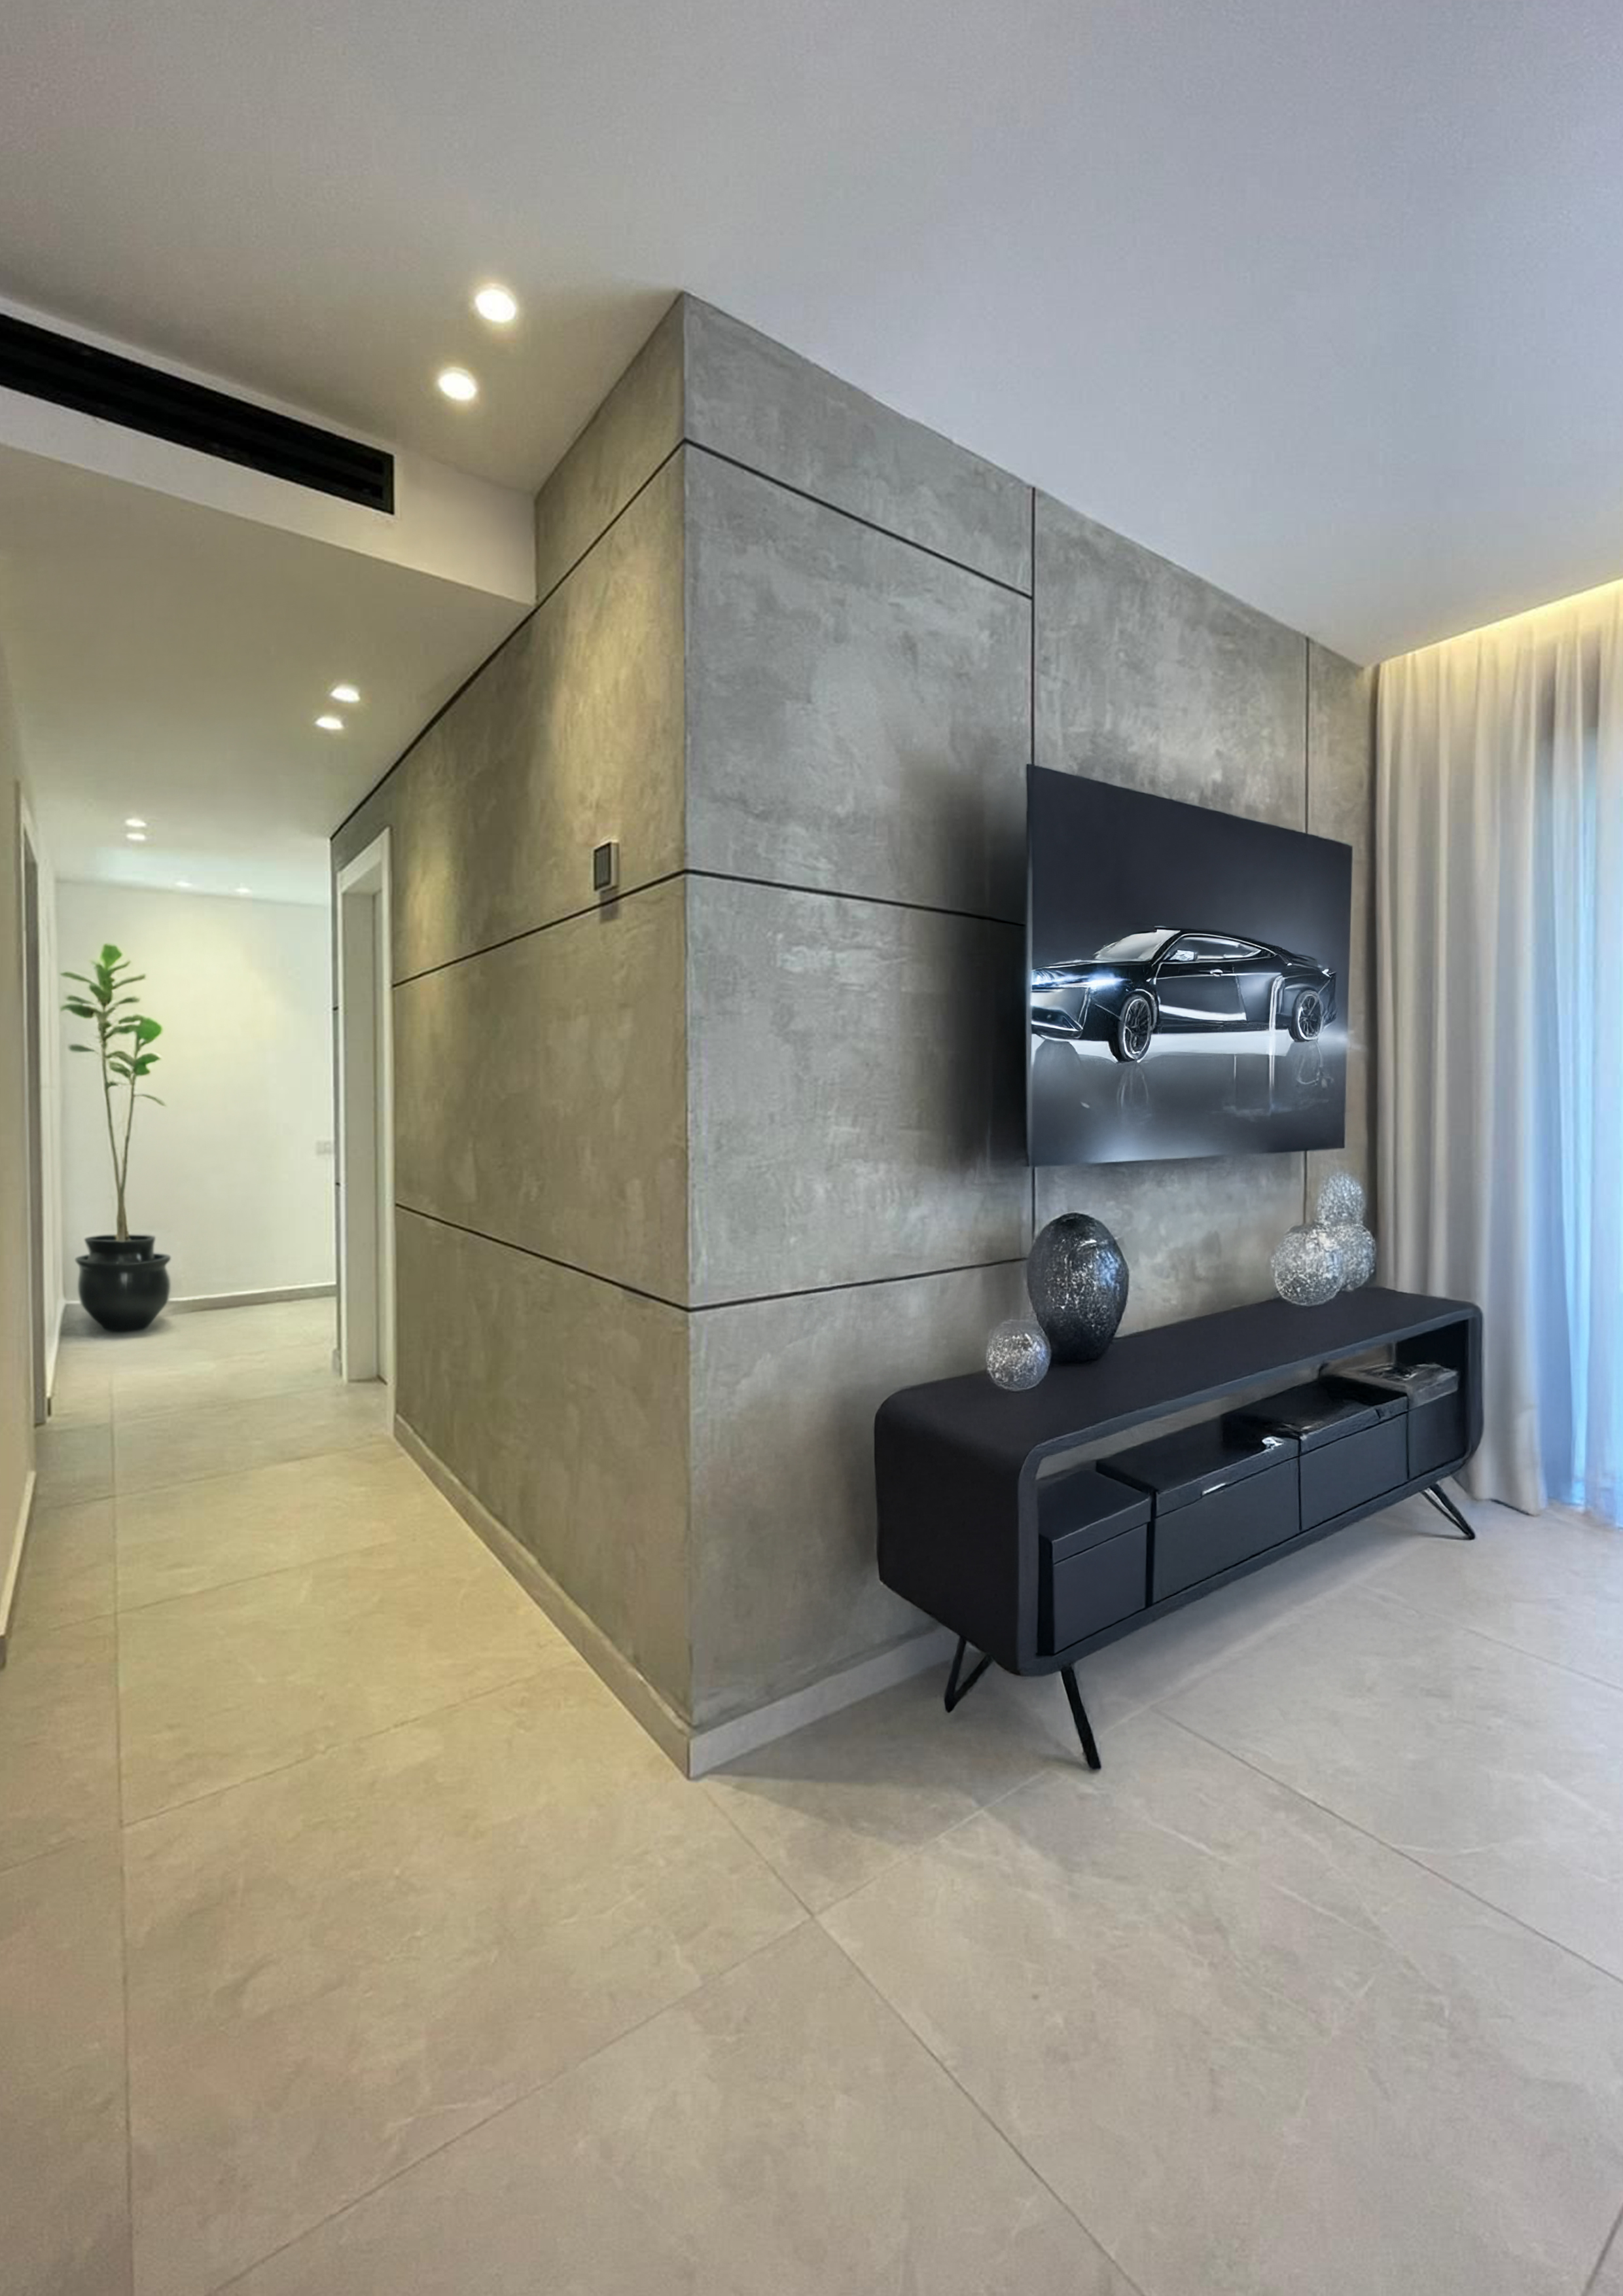
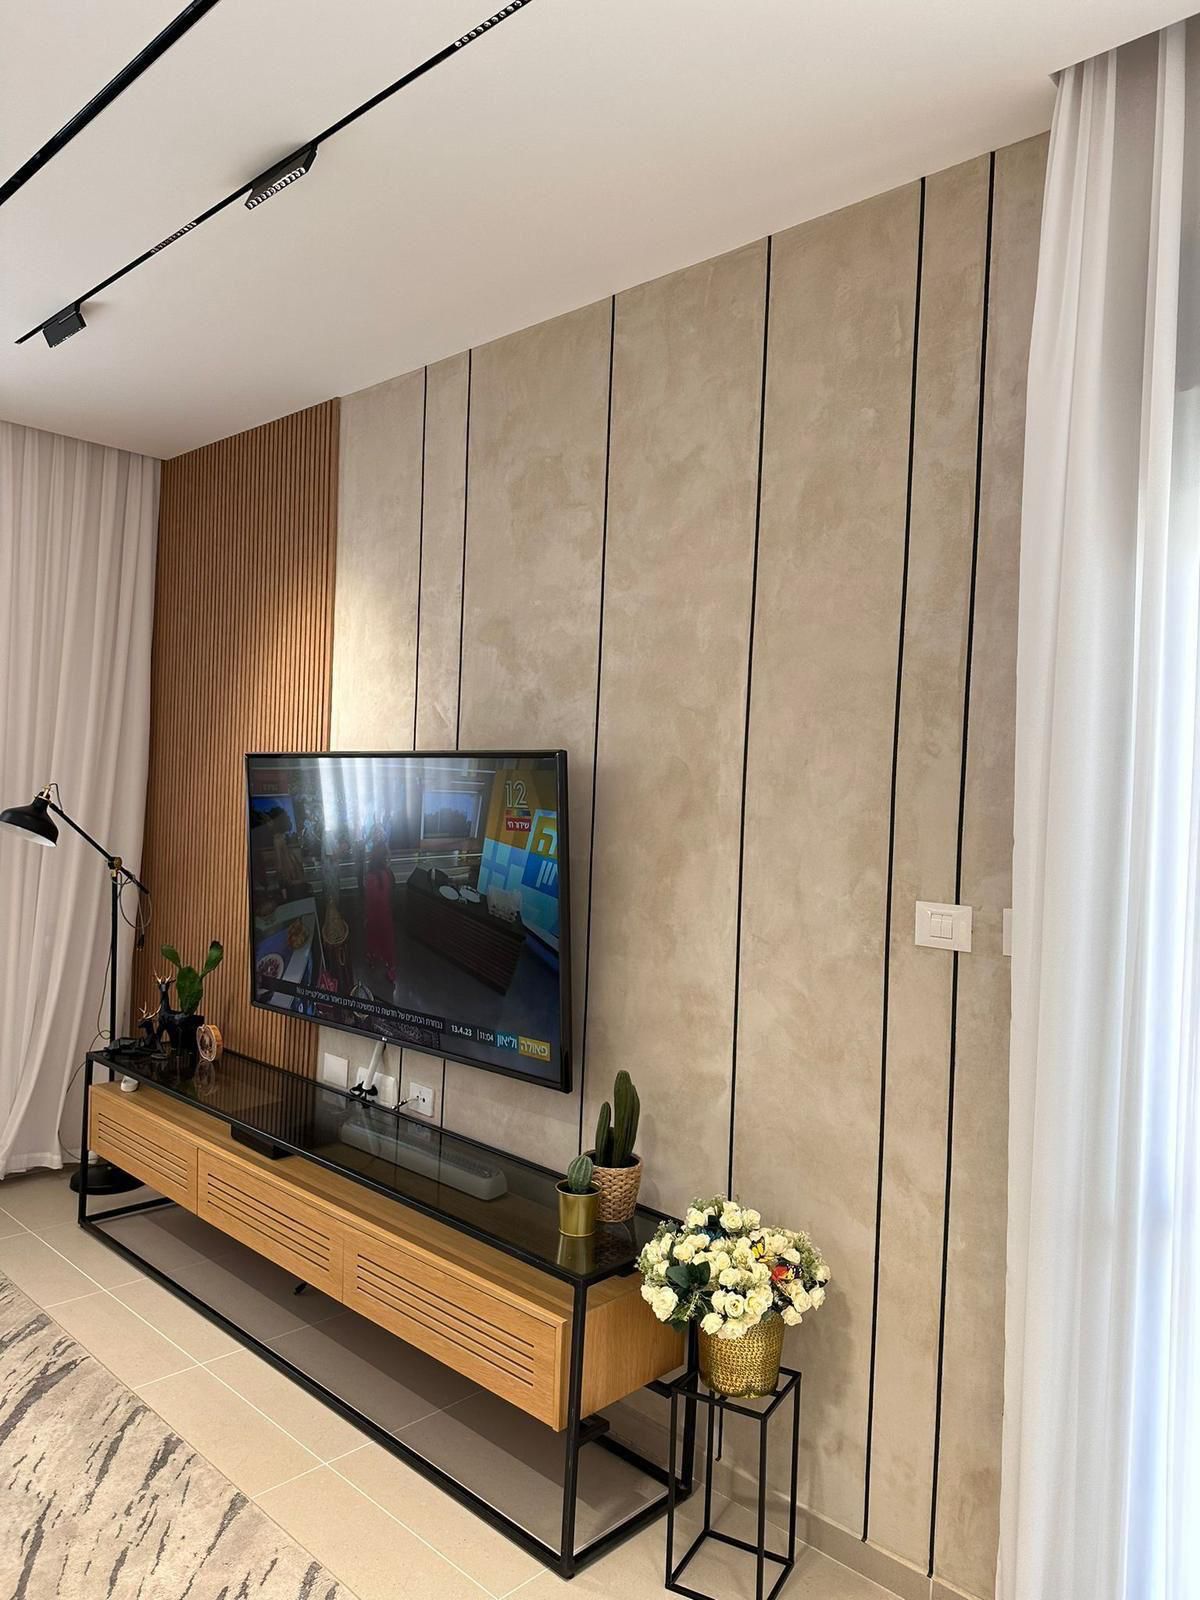
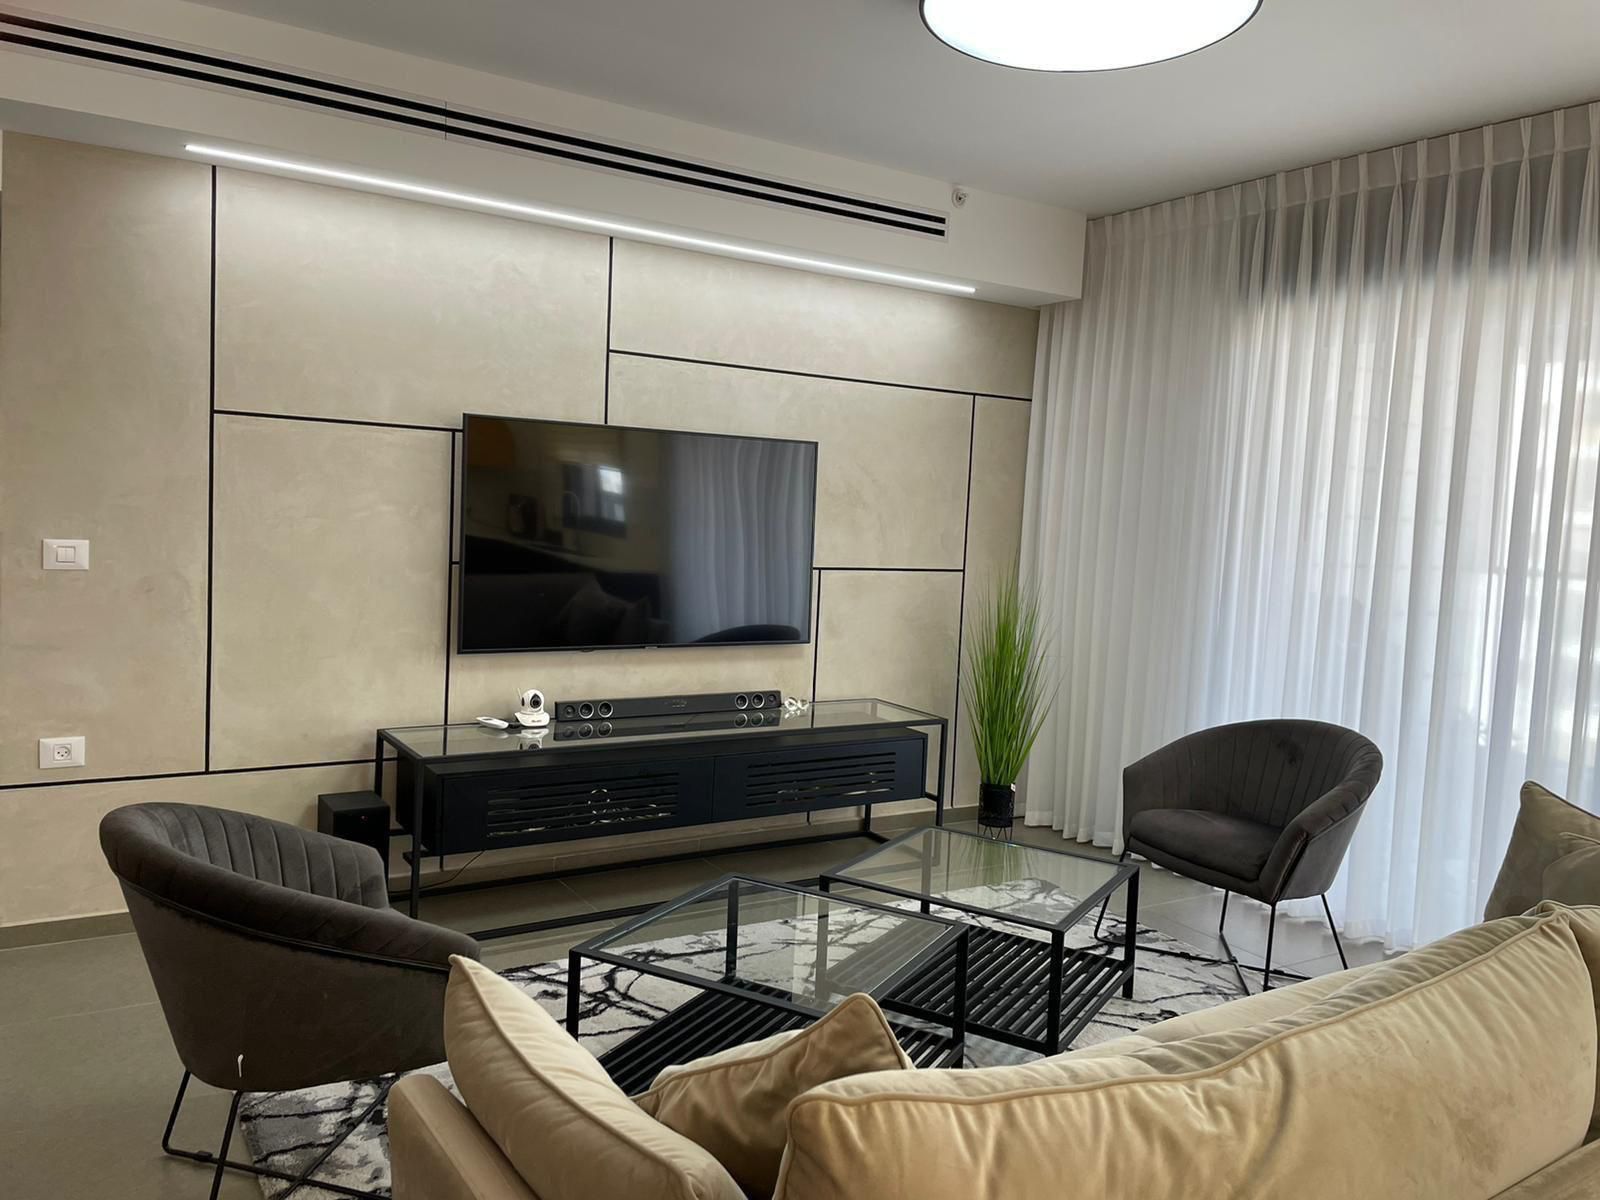
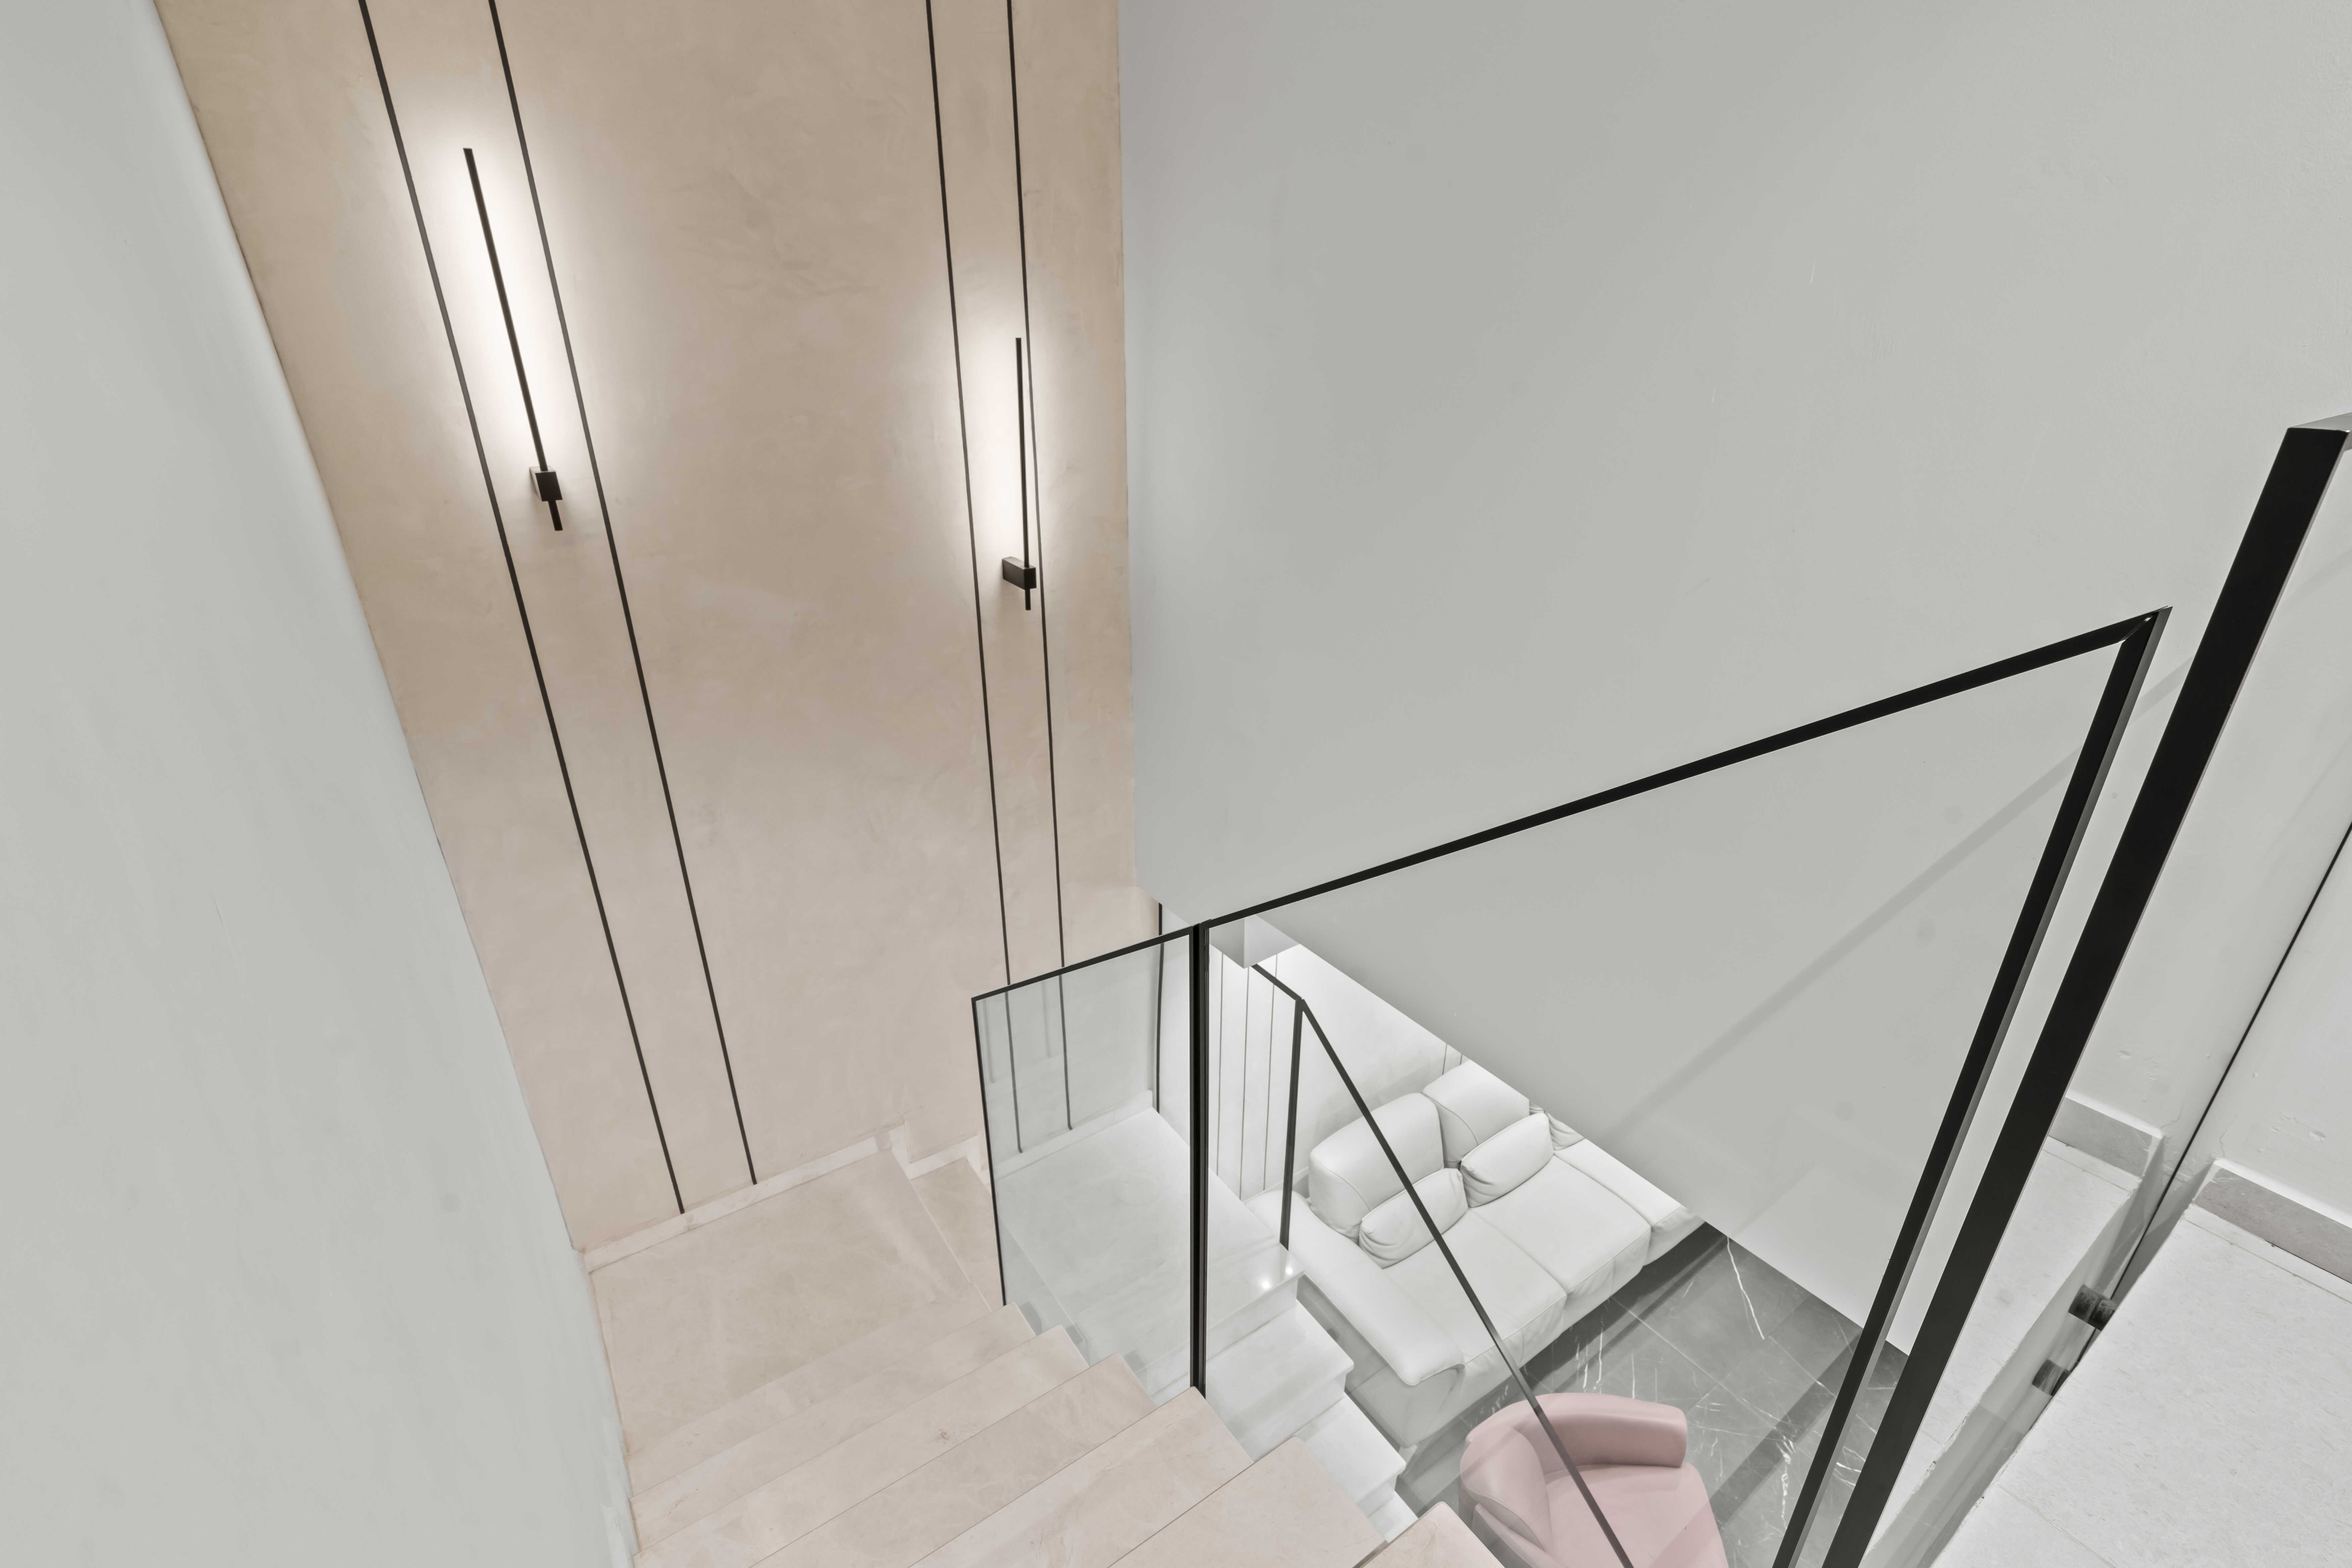
- 12 years on luxury sites
- 400+ feature walls
- 30-day money-back*
7
Chapters of step-by-step studio technique
1 bag
The whole toolkit fits in a single bag you carry in
125K+
People who follow the method online
Any skill level
Math and tape, not a paintbrush.
Two minutes on the wall.
02:14 · 1080p
00:45
From plain wall to showpiece
A flat painted wall reads as ordinary. The mineral plaster method gives a wall depth, geometry, and texture that changes the whole room. The toolkit fits in one bag.
01:10
Why a painted wall falls flat
Paint sits on the surface. This method builds a wall you feel: a tinted concrete base, a precise geometric grid, and a texture layer that catches the light. That is the difference people notice the second they walk in.
01:30
The three-day method
Day 1, a primer that will not peel. Day 2, laser levels and tape set a geometric grid in black-tinted concrete. Day 3, the texture goes on, you peel the tape, and the line appears.
01:45
Everything you need, nothing you don't
Step-by-step videos, an on-site mobile guide, and a full materials list. Backed by a 30-day money-back guarantee.
Seven chapters,
from bare wall to a finish you're proud of.
The complete craft, in order. Every chapter ends in something real on an actual wall, not a slide.
01Foundation
Wall PreparationThe foundation of every result that lasts.
Tools, materials, and the discipline of surface prep. Adhesion-grade primers, the right masking tapes for each later stage, and the small habits that decide whether a wall holds for ten years or peels in ten months.
02Geometry
Geometric LinesThe sketch phase- the design foundation.
You'll physically sketch the panels on the wall. We'll cover composition principles that read at room scale, prepare the base material, and set the mathematical grid the rest of the project hangs from.
03Base layer
Depth & ColorMixing, handling, and the perfect first coat.
Application of the first plaster layer with consistent color across the entire wall. Material handling, the texture you want under the texture, and the control that separates a finish from a mistake.
04Precision
Laser-Sharp TapingTape, level, alignment- no compromises.
Professional masking tape and a laser level produce razor-sharp geometric lines. We cover tape types, surface conditions, and the alignment tricks pros use to land lines that look milled, not painted.
05Texture
The Texture LayerWhen the wall comes to life.
Material flow, pressure, tool choice, and direction of movement- the four variables that produce the texture you intended. We break the process into clear, repeatable steps you can run without supervision.
06Reveal
Line RevealThe wall speaks. The big moment.
Removing the tape to reveal the design. Timing, technique, and the surprises that show up on real job sites - and how to handle each one without panic. Precision, awareness, and a steady hand.
07Field repair
Problem SolvingWhen things don't go as planned.
Not every wall behaves the same. Fix peeling, uneven color, and texture flaws in place- without compromising the final look. You'll leave with the confidence to handle whatever the site throws at you.
Six things you'll
walk away with.
Not a tutorial. The full method I use in my studio, in a form you can run on your own wall.
i.
Technique
Master the full process, start to finish. Step by step, no improvising.
ii.
Guidance
A clear, repeatable workflow that gives a clean result every time. Even the first time. Even on your own.
iii.
Texture
Application and polishing that produce a premium finish, the kind that makes a whole room feel designed.
iv.
Design
No artistic guesswork. Mathematical grids, laser precision, and compositions that read at room scale.
v.
Materials
The full toolkit for one wall fits in a single bag. No heavy equipment, no big overhead.
vi.
Going pro (optional)
Want to offer this as a service? Optional pro toolkits take it further, from a materials list to a pricing guide and a client sales script.

FROM THE CREATOR
A message from Shneor Tzeiger.
I’m an architectural designer registered with the Israeli Registrar of Architects and an interior planner. Twelve years on luxury spaces- boutique apartments, lobbies, concrete art walls in villas and commercial sites.
I’ve spent years simplifying complex architectural principles into a repeatable system that works in the dust of a real American job site, not the quiet of a studio.
I founded my first business in the trenches, so I know the gap between high skill and a wall that actually sells itself. I built this method to work in the dust of a real job site, not the quiet of a studio.
Whether you are doing this for your own home or building a service around it, the method is the same. You will walk into a bare drywall room and leave behind a wall the owner photographs the moment the tape comes off.

What comes with
every enrollment.
Beyond the chapters, you are not doing this alone.
01
Private community & support
A private group of people working through the same method, from first-timers to pros. Ask questions, share your wall, get direct feedback. I am in there too.
02
Certificate of completion
Finish the course and get a certificate you can show clients, or just keep for yourself.
03
12 months of full access
Revisit any chapter for a full year. Come back to a step right before you run it on the wall.
Q.01Why can't I just learn this for free?
Why can't I just learn this for free?
There are clips online, but not the full method. This is the complete system, the prep, the geometry, the taping, the texture, and the reveal, in the right order, so the wall actually holds and looks right. That is what you are paying for, and it is why it works the first time instead of the fifth.
Q.02I'm not an artist. Can I do this?
I'm not an artist. Can I do this?
Good. This is math and tape, not paint and brushes. If you have steady hands and can follow steps in order, you can do this.
Q.03Do I need special tools or a big budget?
Do I need special tools or a big budget?
No. The whole toolkit fits in one bag and costs far less than the gear most trades carry. For your own home, one wall is cheaper than hiring it out. If you offer it to clients, it pays for itself on the first job.
Q.04Do I need a team?
Do I need a team?
No. This is a one-person job. Whether it is your living room or a client's, you can do the whole wall yourself.
Q.05Is there support while I learn?
Is there support while I learn?
Yes. You get the private community and direct feedback, plus 12 months of access to revisit any chapter whenever you need it.
30
days
Try it risk-free.
If within the first 30 days you feel the course isn’t what you expected, you’ll get a 100% refund of your investment. No forms. Pull the tape, see the line, decide for yourself.
* Refund window: under 20% viewed.
100%
Here is what you’ll get.
The course, the community, and a full year of access, in one enrollment.
- 01Concrete Mastery, the complete course, seven chapters
- 02Step-by-step finishing guidance on real walls
- 03Private community access and direct feedback
- 04Certificate of completion
- 0512 months of full access
A plain wall gets forgotten.
This one is the first thing anyone sees.
One-time payment. Thirty days to decide.
One-time payment. Secure checkout. Sign in if you already have an account.
Trusted by 125,000+ pros and design lovers
The method behind millions of views. Watch the real walls, start to finish.